
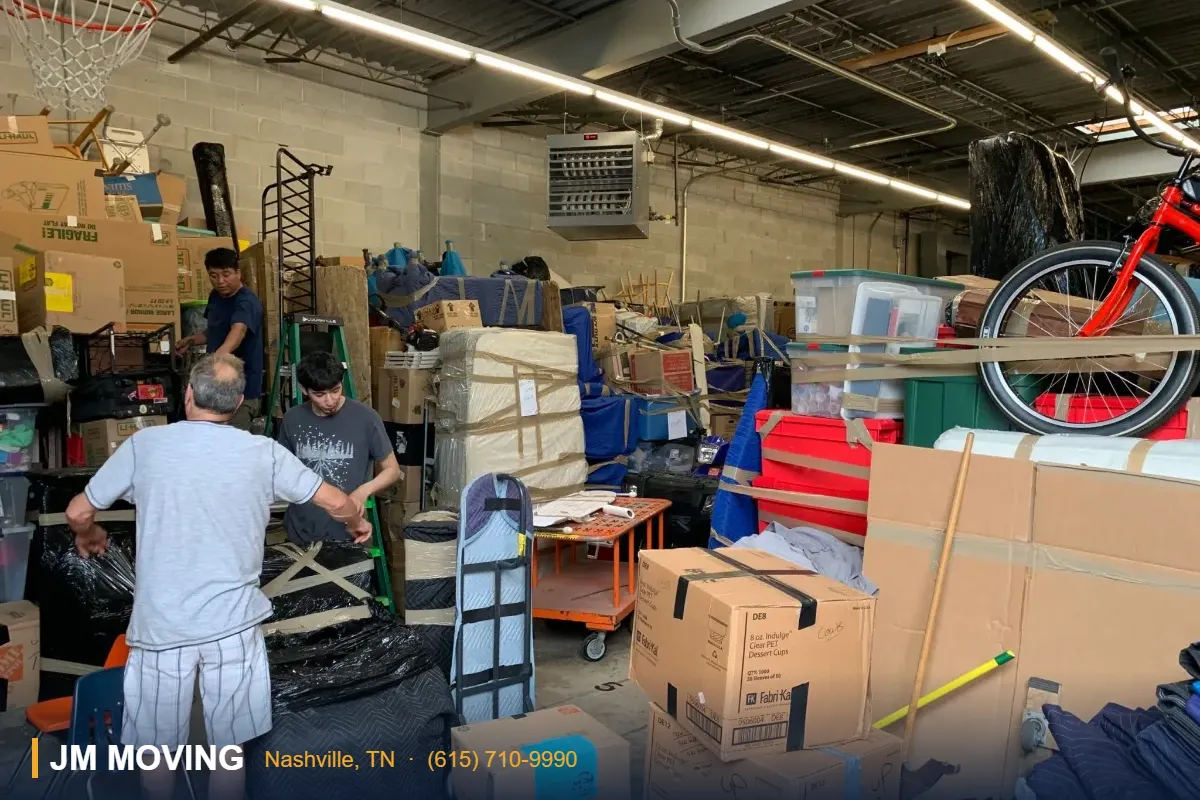
A retail display parts inventory for a Nashville move connects each fixture with the small pieces needed to use it again. Record brackets, shelf supports, trim, feet, signs, and matching hardware before anything is dismantled. Keep sale merchandise, fixtures that belong to the property, and borrowed displays in separate groups.
This guide covers practical counting, labels, condition notes, measurements, and a receiving checklist. Installation, electrical work, wall anchoring, and decisions about the new shop’s layout need their own qualified review. Confirm JM Moving’s actual packing and transport scope before treating a display as ready to load.

1. Establishing Your Initial Nashville Retail Display Parts Inventory
The foundation of any successful local commercial transition starts with a baseline audit. Before a single box is sealed, you must document every physical element of your merchandising setups. This includes modular wall systems, glass shelving brackets, slatwall hooks, freestanding garment racks, cash wrap components, and promotional signage holders. Creating a master list prevents items from vanishing into the chaos of transit.

Begin by walking through your current floor plan with a digital tablet or clipboard. Group your items by department or fixture type. For instance, catalog all apparel hanging rods separately from point-of-purchase acrylic bins. Assign a unique identifier to each major merchandising unit and its associated hardware. This initial phase sets the stage for a streamlined packing process, ensuring that your team knows precisely what exists on the floor before relocation day begins.
2. Utilizing Display Fixture Component Labels
Once you have quantified your assets, the next critical step involves physical identification. Display fixture component labels act as your primary roadmap during unpacking. Loose bolts, Allen wrenches, decorative end caps, and mounting brackets often look identical across different fixture lines. Without clear identification, reassembly becomes a frustrating guessing game.
Implement a color-coded labeling system that corresponds to specific zones in your upcoming floor layout. For example, use blue labels for perimeter wall systems and green labels for central island displays. Every small container holding screws, cam locks, or shelf supports should feature an exterior label detailing its exact contents and the fixture unit it belongs to. This level of detail can reduce searching when setting up your new retail space.
3. Documenting Retail Fixture Measurements
Retail fixture measurements should include overall height, width, depth, and any projecting base or sign frame. Record the packed dimensions if padding or crating changes them. Compare those measurements with the destination space and transport route, and ask the responsible designer or property representative to review customer circulation and applicable requirements. Measurements alone do not establish code compliance.
Note the dimensions of detachable parts, slot spacing, and any model identification needed to match components. Record which measurements were taken and which came from a manufacturer specification. A display that fits inside the room may still be unsuitable for the doorway, turn, elevator, or planned installation surface.

4. Capturing Detailed Shop Display Condition Photos
Visual records are invaluable during a commercial move. Before dismantling any merchandising setup, take high-resolution photographs from multiple angles. Capture how shelves attach to uprights, how lighting strips integrate into display cases, and how decorative trim pieces align with cabinetry frames.
Use shop display condition photos alongside the manufacturer’s assembly instructions, not as a replacement for them. Photograph existing chips, bent brackets, loose joints, and missing fasteners. Keep customer information, payment screens, and private paperwork out of the images. Store the photographs under the same fixture code used on the parts inventory.
5. Maintaining Comprehensive Fixture Hardware Records
Hardware is notoriously easy to misplace during a relocation. Screws, washers, wing nuts, and specialized brackets frequently roll into corners or get mixed up in generic packing boxes. Maintaining rigorous fixture hardware records protects your investment in expensive commercial display systems.
Maintain fixture hardware records by fixture code, part type, quantity, and condition. Use suitable closed containers for ordinary small hardware and rigid protection for sharp pieces. Label each inner container and its outer carton. Do not mix similar-looking fasteners from different systems unless the manufacturer confirms they are interchangeable.
6. Formulating Your Nashville Shop Moving Plan
A successful transition requires a structured timeline that coordinates your inventory audit, physical packing, transport, and unpacking phases. Your Nashville shop moving plan should account for local traffic patterns, building loading dock availability, and lease handover deadlines.
Build the Nashville shop moving plan around actual dependencies: ownership approval, installation instructions, specialist disconnection, packaging availability, property access, and the receiving layout. Start early enough to resolve missing hardware or unknown fixtures. Fixed two-week or one-week rules may not fit a large store, a custom display, or a short-notice move.
Use the packing scope checklist to record which fixture groups the owner prepares and which tasks have been accepted by the mover. Keep the schedule flexible until access and specialist work are confirmed.
7. Managing Shared Workspace and Multi-Tenant Fixture Ownership
Many modern retail operations in Tennessee operate within collaborative storefronts, pop-up markets, or shared mercantile spaces. When multiple vendors or partners share display infrastructure, establishing clear ownership boundaries during a move is critical to prevent disputes and lost property.
When ownership is unclear, hold the component for a decision rather than packing it with whichever group is closest. Record the owner, approved destination, and who authorized the move. Labels can document an agreement; they do not settle a lease or property dispute.
8. Preparing Specialized Retail Lighting and Electrical Display Components
Modern retail displays often incorporate integrated LED strip lighting, backlit graphic panels, and motorized rotating carousels. While complex electrical repairs and wiring modifications must be handled by qualified electricians or left to owner-manufacturer discretion, your inventory audit must still account for every peripheral power supply, transformer, and connection cable.
Only authorized staff should disconnect ordinary plug-in accessories they are qualified to handle, following the equipment instructions. Hardwired lighting, damaged cords, and unfamiliar electrical components need a qualified electrician or approved service provider. Keep model labels and power-supply pairings in the record; do not select an adapter merely because its plug fits.
9. Executing Systematic Packing and Cushioning Protocols
Retail display parts vary widely in material, from heavy steel uprights to delicate tempered glass shelves and fragile acrylic sign holders. Utilizing appropriate cushioning and packing materials protects your investment throughout the physical transit phase.
Have the packer review glass dimensions, edge condition, framing, and support needs before selecting packaging. Large or unsupported panels may need a purpose-built package or specialist handling; a blanket alone is not a complete transport plan. Protect acrylic from abrasion and avoid adhesive directly on its surface. The Canadian Conservation Institute’s glass-care guidance is useful background on careful handling, but it is not a shipping specification for a commercial display.
10. Verifying Your Post-Move Inventory and Reassembly Checklist
The final phase of your relocation strategy occurs the moment your items arrive at the new Nashville venue. Instead of ripping open boxes at random, execute a structured check-in using the master inventory manifest you created during the initial audit.
Count each package against its code as it arrives, then inspect contents before assembly. Keep damaged or incomplete fixtures out of use until the appropriate person reviews them. Container receipt, component reconciliation, and safe installation are separate milestones, so the arrival of the truck should not be treated as proof the shop is ready to reopen.
Frequently Asked Questions
What is the first step in creating a retail display parts inventory?
The initial step involves conducting a thorough baseline audit of all existing merchandising units, shelving brackets, hooks, and hardware while your store is closed, grouping items logically by department.
How should small screws and brackets be organized for a move?
Use a labeled closed container for each fixture’s ordinary hardware and suitable rigid protection for sharp pieces. Record counts and place the smaller containers in a coded outer carton. Keep different fixture systems separate.
Why are fixture measurements important when changing locations?
They support route planning and help the responsible designer review the new layout. They do not by themselves establish accessibility, structural, or installation compliance.
Should I take photographs before dismantling displays?
Yes, capturing high-resolution photos from multiple angles provides an instant visual reference guide for your staff during reassembly at the new venue.
How do I manage display inventory in a shared retail space?
Cross-reference your inventory with partnership agreements, apply owner-specific color codes, and use distinct labeling to clearly define property boundaries before packing.
What precautions should be taken with glass and acrylic display parts?
Review each panel’s dimensions, edges, support, and packaging with a qualified packer. Large glass can require specialist packaging. Protect acrylic from abrasion and keep adhesives off vulnerable surfaces.
How should electrical cords and power supplies be handled?
Use authorized personnel and the equipment instructions for disconnection and preparation. Label each approved detachable component to its fixture. Hardwired, damaged, or unfamiliar electrical equipment needs qualified review.
Where can I find more information on workspace item ownership?
Check the property agreement, purchase records, and the approval of the responsible owner. Record disputed or shared items as awaiting a decision. A moving checklist cannot determine legal ownership.
How far in advance should I start my fixture inventory audit?
Start when the move becomes likely. Allow time for custom packaging, specialist work, missing hardware, and property approvals rather than relying on one fixed lead time for every shop.
What is the best way to verify items upon arrival at the new store?
Check off each container against your master manifest as it enters the new space, sorting components directly into their designated zones before beginning reassembly.
A useful retail display parts inventory makes unresolved issues visible before they become a loading-day surprise. Keep the record current when fixtures are sold, repaired, dismantled, or reassigned. Ask JM Moving to review the actual inventory and access details, and obtain written confirmation of the agreed work.
Display fixture component labels: a practical example
Consider a display with a base, two uprights, four shelves, and a removable sign frame. Assign one fixture code, such as DISP-A, and give every package a related code. The hardware container might be DISP-A-HW while the protected shelf package is DISP-A-SH. List the actual contents and counts rather than assuming the package name tells the whole story.
The exterior label should identify the code, destination zone, and any agreed handling note. The detailed record can show dimensions, condition-photo references, missing pieces, owner, and installation contact. Use words as well as color so a label remains useful if tape shades look similar or a photograph is printed in black and white.
Separate transport readiness from installation readiness
A fixture can be packed and still need replacement hardware before it can be used. Mark that clearly. Do not improvise with a different bolt, omit a brace, or load merchandise onto a display whose assembly has not been reviewed. Keep the manufacturer’s parts list and instructions available to the person responsible for installation.
Wall-mounted fixtures need a decision about removal, the old mounting surface, and the new installation. These tasks may involve the landlord or a qualified installer. Confirm whether the display is yours to remove and whether any attachment work is included in a separate contract. Moving staff should not have to resolve those questions while carrying parts.
Create an exception list before the final count
- Missing shelf supports or unidentified fasteners.
- Cracked acrylic, chipped glass edges, or bent uprights.
- Unconfirmed ownership or destination.
- Electrical components awaiting qualified preparation.
- Oversize pieces needing route or packaging review.
Give every exception a responsible person and a next step. If the answer is still unknown at loading time, record the hold rather than quietly treating the item as finished. Keep excluded fixtures physically separate from the prepared load, with labels that make the decision clear to staff and crew.
Reconcile before discarding packaging
Open one fixture group at a time in a clear receiving area. Check the small hardware containers before throwing out cushioning. Compare the component count with the record, then inspect the parts and photograph any concern. Keep related packaging available while the issue is reviewed through the agreed reporting process.
When the count is complete, update the record from “received” to “components checked.” Installation and readiness for merchandise should have their own confirmation. This prevents a checked delivery box from being mistaken for approval to use a display that still lacks a support or has an unresolved condition concern.
Connect the equipment list to the room inventory checklist, record responsibilities in the packing scope checklist, and use the photo walkthrough checklist for non-sensitive access details. These planning pages do not establish acceptance of specialized equipment; confirm that separately with JM Moving.
Plan your Nashville move with JM Moving
Share your inventory, requested date, packing needs, and access details with JM Moving. Call (615) 710-9990 to ask about the next step. Request written confirmation of scope, pricing, and availability before making plans around a service.