Pack a Kitchen for Moving | Nashville Safety Guide
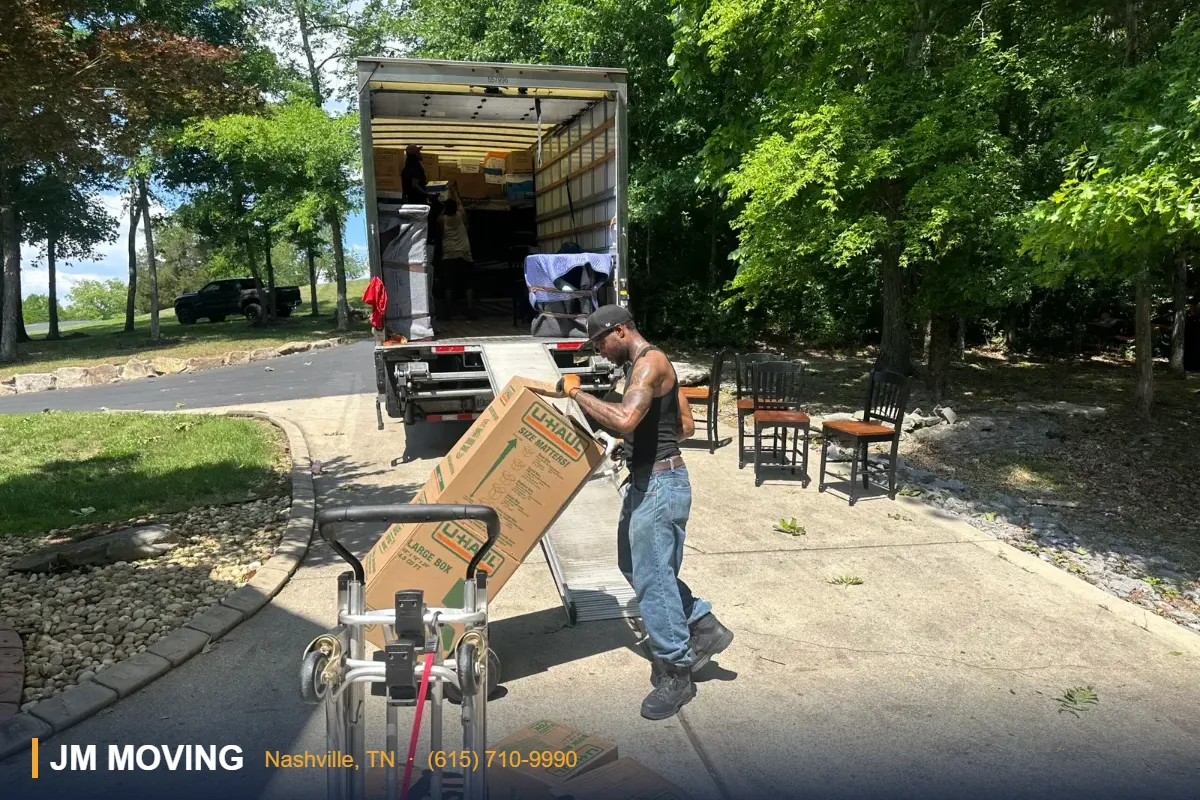
Pack a Kitchen for Moving | Nashville Safety Guide explains how to pack kitchen items for a move: how to organize dishes, cookware, food, appliances, fragile items, labels, and first-night essentials before moving day.
Kitchen Packing Checklist
- Set aside food, cookware, and place settings needed through the final day.
- Discard expired food and separate items you plan to donate.
- Wash and dry dishes, utensils, and appliance parts completely.
- Match lids, cords, trays, and removable parts to their main items.
- Create separate packing zones for fragile, heavy, sharp, pantry, and essential items.
- Reinforce the bottoms of boxes and keep each box at a manageable lifting weight.
- Photograph appliance connections before disconnecting anything.
- Review the mover’s written policy for restricted and non-transportable items.
- Label each box with contents, destination room, and handling notes.
- Keep keys, documents, medication, valuables, and immediate-use supplies with you.
Kitchen Packing Supplies
- Small and medium moving boxes for dense cookware and pantry items
- Dish boxes or sturdy double-wall boxes for fragile dishes
- Clean, ink-free packing paper
- Cardboard dividers for glassware
- Bubble cushioning for delicate or irregular pieces
- Strong packing tape and a tape dispenser
- Permanent markers and color labels
- Resealable bags for hardware and small removable parts
- Stretch wrap for bundling non-sharp utensils without applying it directly to finished surfaces
How to Pack Kitchen Items Step by Step
1. Sort before you wrap
2. Build a kitchen essentials box
3. Pack plates, bowls, and serving dishes
- Cushion the bottom of a sturdy box with crumpled packing paper.
- Wrap each piece separately, covering edges and corners.
- Place plates vertically rather than stacking them flat.
- Keep heavier pieces lower and lighter pieces above them.
- Fill gaps so the contents do not shift, but do not force pieces tightly together.
- Add a final cushion layer before sealing the box.
4. Protect glasses, mugs, and stemware
5. Pack pots, pans, and lids
6. Secure knives and sharp tools
7. Prepare countertop appliances
8. Handle pantry items carefully
9. Finish with cleaning supplies and daily-use items
10. Seal, label, and stage boxes
Kitchen Box Label Guide
| Box category | What belongs inside | Label to add | Unpacking priority |
|---|---|---|---|
| Open first | Basic dishes, pan, utensils, soap, towel | KITCHEN — OPEN FIRST | Immediate |
| Fragile dishes | Plates, bowls, serving pieces | FRAGILE — DISHES — THIS SIDE UP | Early |
| Glassware | Glasses, mugs, stemware | FRAGILE — GLASSWARE | Early |
| Heavy cookware | Pots, pans, cast iron | HEAVY — COOKWARE | Normal |
| Sharp tools | Protected knives and cutting tools | SHARP — OPEN CAREFULLY | Normal |
| Pantry | Approved sealed food items | PANTRY — KEEP UPRIGHT | Normal |
| Appliance | One appliance with labeled parts | APPLIANCE NAME — PARTS INSIDE | As needed |
Common Kitchen Packing Mistakes
- Starting before sorting expired, unwanted, or restricted items
- Using oversized boxes for dense cookware or canned goods
- Leaving empty space that allows fragile contents to shift
- Stacking unprotected plates flat at the bottom of a box
- Packing damp appliance parts that can develop odors or residue
- Leaving blades exposed or failing to mark sharp-item boxes
- Using vague labels such as “kitchen stuff”
- Packing every daily-use item and leaving nothing for the first night
When Professional Packing Help Makes Sense
Frequently Asked Questions
What should I pack first in the kitchen?
Should plates be packed flat or vertically?
How should I pack glasses and mugs?
Can I use towels instead of packing paper?
How do I pack kitchen knives safely?
Can food go in moving boxes?
How do I prepare a small appliance for moving?
What should go in a first-night kitchen box?
How do I know when a kitchen box is too heavy?
When should I ask JM Moving about packing help?
Request a Written Packing Quote
How to Pack a Kitchen for Moving Safely
How to Pack a Kitchen for Moving Safely Photo Gallery
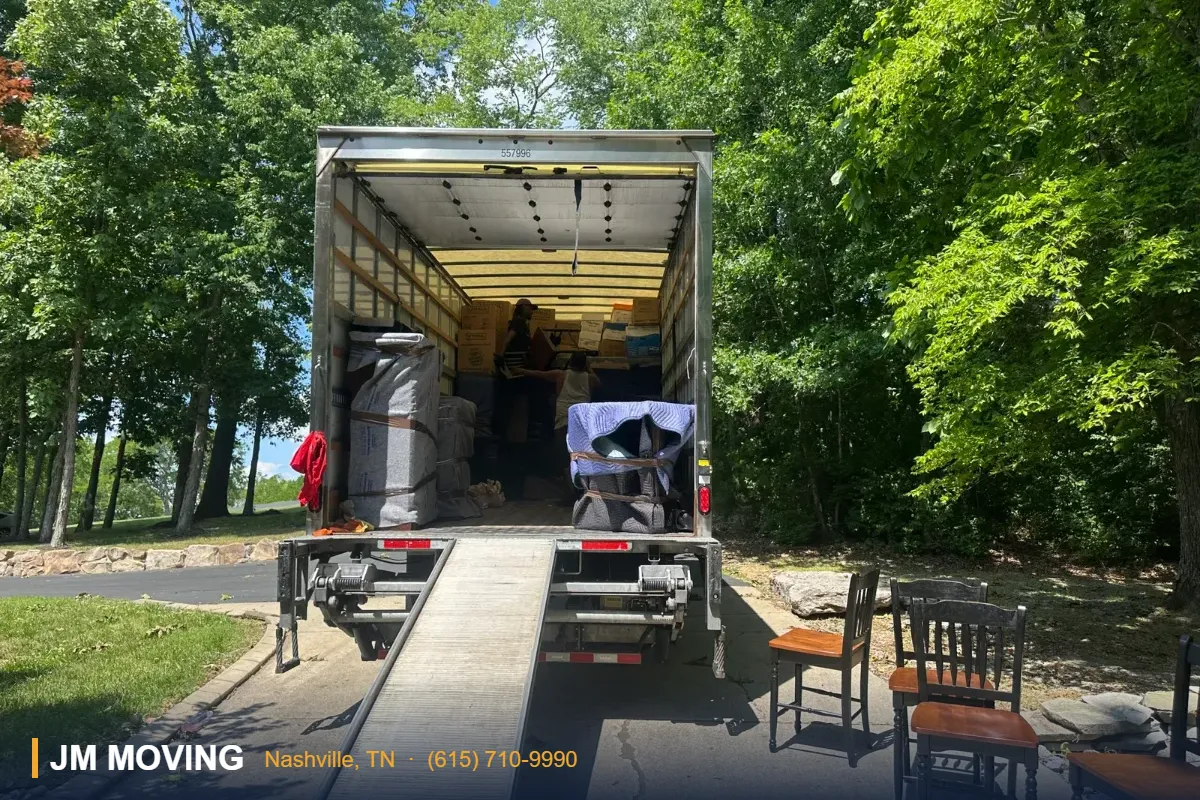
Pack a Kitchen for Moving | Nashville Safety Guide
Related searches include kitchen packing tips, packing dishes for moving, packing appliances safely, Nashville packing services, moving box organization, and professional packing help. Interstate households can also review FMCSA Protect Your Move. Call JM Moving at (615) 710-9990.

How to pack a kitchen for moving starts with sorting, cleaning, and building boxes for the weight and fragility of each item. A kitchen combines breakable dishes, sharp utensils, heavy cookware, food, and appliances, so packing everything the same way can lead to damage or difficult lifting.
This JM Moving guide gives Nashville households a practical order of work and a room-specific moving packing guide for the kitchen. Use it for a do-it-yourself pack or as a preparation checklist. Always follow the appliance manufacturer’s instructions and confirm any restricted item with your mover before moving day.
For related planning, review JM Moving’s Nashville packing services, guide to items movers may not transport, moving-day checklist, and residential moving services.
Work through this list before you pack a kitchen for moving:
One of the simplest kitchen packing tips is to choose supplies based on what you actually own. Useful materials include:
Avoid relying on newspaper against light-colored or porous items because ink can transfer. Towels can cushion some sturdy pieces, but consistent packing paper makes it easier to create even layers and fill open space.
Empty one cabinet or drawer at a time. Group items into keep, donate, discard, and use-until-moving-day categories. This prevents unnecessary packing and keeps matched sets together. Check dates on pantry goods and do not pack anything leaking, spoiled, or poorly sealed.
Reserve a small set of items for the first evening and morning in the new home: basic place settings, a pan, simple utensils, dish soap, a towel, coffee or tea supplies, and shelf-stable food. Mark this box OPEN FIRST and keep it easy to identify.
One of the most useful kitchen packing tips: use smaller boxes for stoneware, cast iron, and other dense items. A large box can become unsafe to lift before it looks full.
Use a divided box when available. Wrap every item separately, protect handles and stems, and fill hollow spaces gently with paper. Do not nest glassware unless the manufacturer designed the pieces to nest. Finish with cushioning above the tallest item and label the box FRAGILE — GLASSWARE.
Nest compatible cookware with paper or another soft layer between finished surfaces. Wrap glass lids separately and place them upright with cushioning on both sides. Pack cast iron and other heavy cookware in small boxes. Do not leave loose handles, racks, or accessories inside an appliance or pot.
Use a knife block, blade guards, or layers of sturdy material that fully cover each cutting edge. Bundle protected knives so they cannot slide free, then mark the package and outer box SHARP. Never place exposed blades loosely in a box.
Unplug appliances, allow them to cool, clean them, and dry every part. Remove crumbs, water, grounds, oil, and food residue. Photograph how removable parts fit, bag small components, and label the bag. Use the original box if it remains sturdy; otherwise cushion the appliance in a right-sized moving box. Follow the manufacturer’s instructions for refrigerators, freezers, and appliances with water lines.
Pack sealed, shelf-stable items upright in small boxes and separate cans from fragile containers. Place bags or liners around products that could leak, but do not treat a liner as permission to move an open or prohibited product. Ask the mover about liquids, aerosols, fuel, chemicals, alcohol, and temperature-sensitive food before packing them.
Keep only what you need for the final cleanup. Many cleaning products may be restricted because of their contents or risk of leakage. Confirm the mover’s policy, transport allowed products separately when appropriate, or dispose of them according to the label and local rules.
Before sealing, add enough paper to prevent movement and check that the box can be lifted safely. Label the top and at least one side. Stage fragile boxes away from traffic and keep the first-open box separate. For whole-home sequencing, keep the moving-day checklist with the first-open box.
Professional packing help from Nashville movers may be useful when the kitchen contains extensive glassware, fragile serving pieces, many appliances, or when the packing schedule is short. Ask for the packing scope, materials, timing, and price to be stated in writing. See JM Moving’s explanation of how moving costs are calculated before requesting a written scope.
Begin with items you rarely use, such as specialty cookware, extra serving pieces, seasonal tools, and duplicate utensils. Keep a limited daily-use set available until the final day.
Wrap plates individually and place them vertically in a sturdy, cushioned box. Fill open spaces so they cannot shift, and avoid putting excessive weight above them.
Wrap each piece separately and use dividers when available. Protect handles and stems, fill hollow areas gently with paper, and add cushioning above and below the group.
Clean towels can cushion some sturdy items, but they may create uneven pressure around delicate glassware. Packing paper is easier to shape consistently around fragile pieces and into gaps.
Cover every blade with a guard, knife block, or secured layers of sturdy material. Bundle the protected knives, prevent them from sliding, and clearly label both the bundle and box as sharp.
Some sealed, shelf-stable food may be suitable, but policies vary by mover and move type. Confirm rules for liquids, perishables, open packages, glass containers, and long-distance transport before packing.
Unplug it, let it cool, clean and dry it, remove loose parts, and follow the manufacturer’s instructions. Bag and label accessories, then cushion the appliance in its original or a right-sized box.
Include a basic place setting, simple cookware, utensils, dish soap, a towel, shelf-stable refreshments, and any item you will need before the rest of the kitchen is unpacked.
If you cannot lift and carry it safely with normal posture, redistribute the contents. Dense cookware, canned goods, and appliances usually belong in smaller boxes.
Ask before the move date so JM Moving’s Nashville movers can include the requested work, materials, timing, and price in a written scope. Use the JM Moving contact page to request details.
A 7-Day Plan to Pack a Kitchen for Moving
The kitchen is usually the slowest room to pack because nearly everything in it is fragile, heavy, sharp or still in daily use. Spreading the work over a week lets you keep cooking until the last night while boxes fill steadily. Use this schedule alongside the moving packing guide above; it works whether you pack a kitchen for moving yourself or split the job with a crew.
- Day 7: Empty high cabinets and rarely used drawers. Pack specialty bakeware, holiday platters, extra mugs and small appliances you can live without.
- Day 6: Plan meals around what is already in the pantry and freezer. Stop buying bulk groceries and set aside donation items.
- Day 5: Wrap fine china, stemware and serving pieces while you still have time to pad each box carefully.
- Day 4: Pack most pots and pans, keeping back one skillet and one saucepan. Box cookbooks and table linens.
- Day 3: Clean and dry countertop appliances, bag their parts, and pack everything except the coffee maker.
- Day 2: Empty, defrost and clean the refrigerator and freezer following the manufacturer’s instructions, then pack sealed pantry goods.
- Day 1: Finish the open-first box, wipe down cabinets, and set aside cleaning supplies you plan to transport yourself.
Treat these kitchen packing tips as a starting point rather than a rule. A large kitchen with a butler’s pantry in Belle Meade or Forest Hills may need a longer runway, while a compact Midtown apartment kitchen may only take a weekend.
Match Box Size to the Item, Not the Space
Most kitchen damage starts with the wrong carton. Heavy items in large boxes get dropped, and fragile items in half-empty boxes shift. The simplest way to pack a kitchen for moving safely is to sort what you own into the groups below before you buy moving boxes Nashville supply stores carry in several sizes.
| Item group | Best box | Key protection |
|---|---|---|
| Canned goods, cast iron, stoneware | Small | Keep the box light enough to lift with normal posture |
| Plates, bowls, platters | Dish pack or double-wall medium | Wrap individually and stand on edge |
| Glasses, mugs, stemware | Medium with cell dividers | Wrap stems and fill hollows with paper |
| Small appliances | Original carton or right-sized medium | Bag and label cords and parts |
| Light plastics, dish towels, oven mitts | Large | Use as soft filler around sturdier items |
Tape the bottom seams twice, write the destination room on two sides, and never let a single box become the heaviest thing a person has to carry on moving day.
If you are still deciding how to pack kitchen items yourself versus hiring help, start with a quick count of fragile pieces and small appliances. That count makes this moving packing guide easier to follow and gives Nashville movers the details they need for an accurate written scope.
Access Details That Affect Kitchen Packing Day
Where you live changes how boxes travel from the kitchen to the truck. Share these details early so Nashville movers can plan crew size and timing accurately.
- High-rise and condo buildings: In West End, Midtown and Downtown, many buildings require a reserved elevator, a loading-dock window and sometimes a certificate of insurance. Have heavy kitchen boxes staged near the door before your time slot begins.
- Long driveways and hillside lots: Some homes in Belle Meade, Forest Hills, Oak Hill and West Meade have long walks or steps between the kitchen and where a 26-foot box truck can park. Smaller, well-taped boxes are easier and safer to carry over that distance.
- Tight residential streets: In Sylvan Park and parts of Green Hills, curb space can be limited. Tell the crew if a neighbor’s driveway needs to stay clear or if parking has time limits.
- HOA communities: Neighborhoods in Brentwood, Franklin, Nolensville and Bellevue may set move-in hours or truck rules. Check with the HOA before you lock in a date.
Packing Services Nashville Households Use for the Kitchen
Not every household needs full packing. Some choose packing services Nashville crews offer only for the kitchen because it is often the most time-consuming room in the home. Use this comparison to decide which level of help fits your schedule and inventory.
| Option | Good fit when | Confirm in writing |
|---|---|---|
| Do it yourself | You have a week or more and mostly everyday dishes | Supply list and who loads the boxes |
| Kitchen-only packing | You can handle other rooms but own a lot of glassware or china | Which cabinets are included and what materials are used |
| Fragile-only packing | You want help with china, stemware or heirlooms only | An item list and how each piece is wrapped |
| Full-home packing | Your schedule is short or you are moving long distance | Packing day, crew size and materials |
What Affects the Cost of Kitchen Packing
Ask Nashville movers to itemize each of these factors so you can compare estimates on the same scope:
- How many cabinets, drawers and pantry shelves need packing
- The amount of glassware, china and specialty cookware
- Materials such as dish packs, cell dividers and packing paper
- Building access, stairs and elevator timing
- Your move date, including weekend or after-hours requests
The price of packing services Nashville residents request depends on inventory, access and date, so the most reliable number is a written estimate. Review our packing services or request a free moving quote.
Unpacking Order for the New Kitchen
A complete moving packing guide covers the other end of the move too. Unpack in this order so you can cook quickly without burying the counters:
- Open the first-night box and set up the coffee maker, one pan and a basic place setting.
- Wipe shelves and line drawers before anything goes into them.
- Put everyday dishes and glasses in the cabinets closest to the sink or dishwasher.
- Place pots and pans near the stove and utensils near your main prep space.
- Stock the pantry, checking for anything that shifted or leaked in transit.
- Leave specialty and seasonal items for last.
One last entry for your kitchen packing tips list: flatten empty cartons as you go so the floor stays clear and safe while you work.
More Kitchen Packing Questions
How long does it take to pack a kitchen for moving?
It depends on the size of the kitchen and how much glassware and china you own. Starting about a week ahead, as in the plan above, can keep the work manageable without giving up home-cooked meals.
Which kitchen packing tips help most with glassware?
Use boxes with cell dividers, wrap every glass and stem separately, fill hollow spaces with paper, and mark the box fragile on the top and sides.
Can Nashville movers pack only my kitchen?
You can ask. JM Moving offers packing services, and you can request a written scope limited to the kitchen or to fragile items only. Call (615) 710-9990 to describe what needs packing.
Tell JM Moving what needs packing, identify fragile or high-value kitchen items, and ask for materials and labor to be listed in writing. Contact JM Moving about your Nashville move.
Related JM Moving resources: packing fragile items for moving, Nashville packing services, residential movers in Nashville.
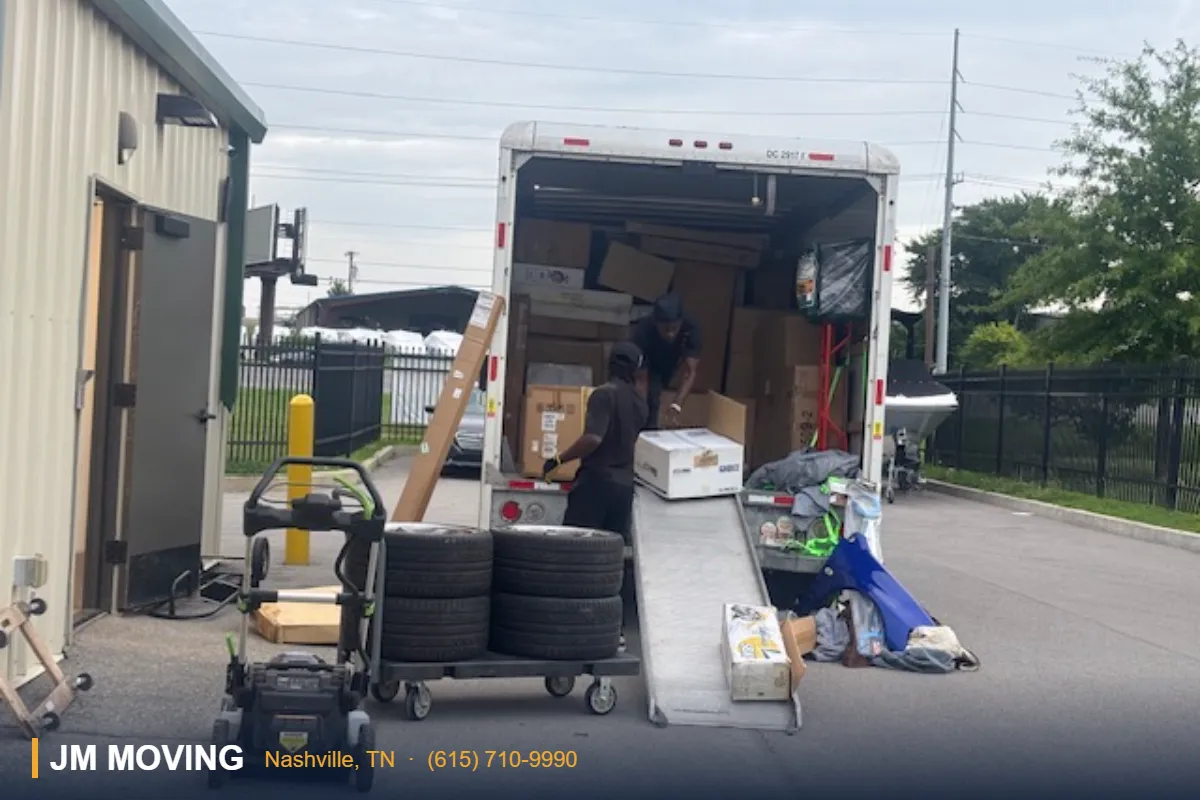
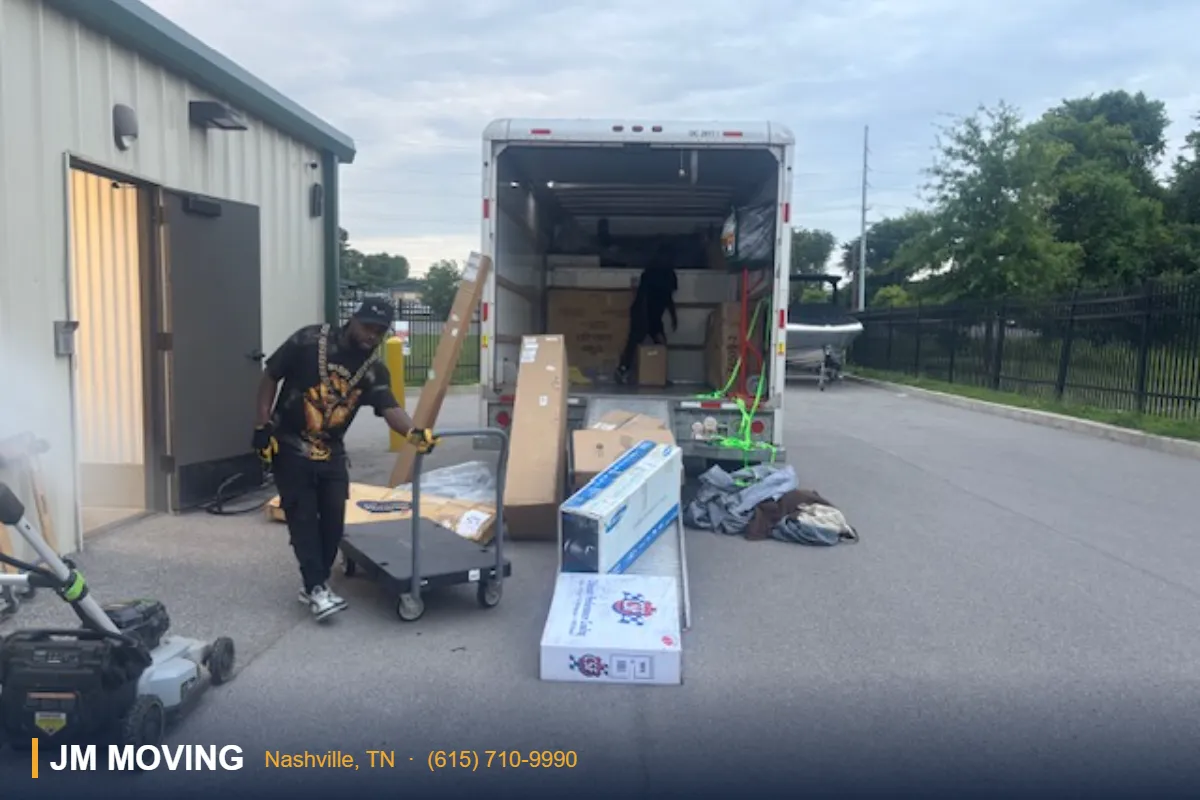
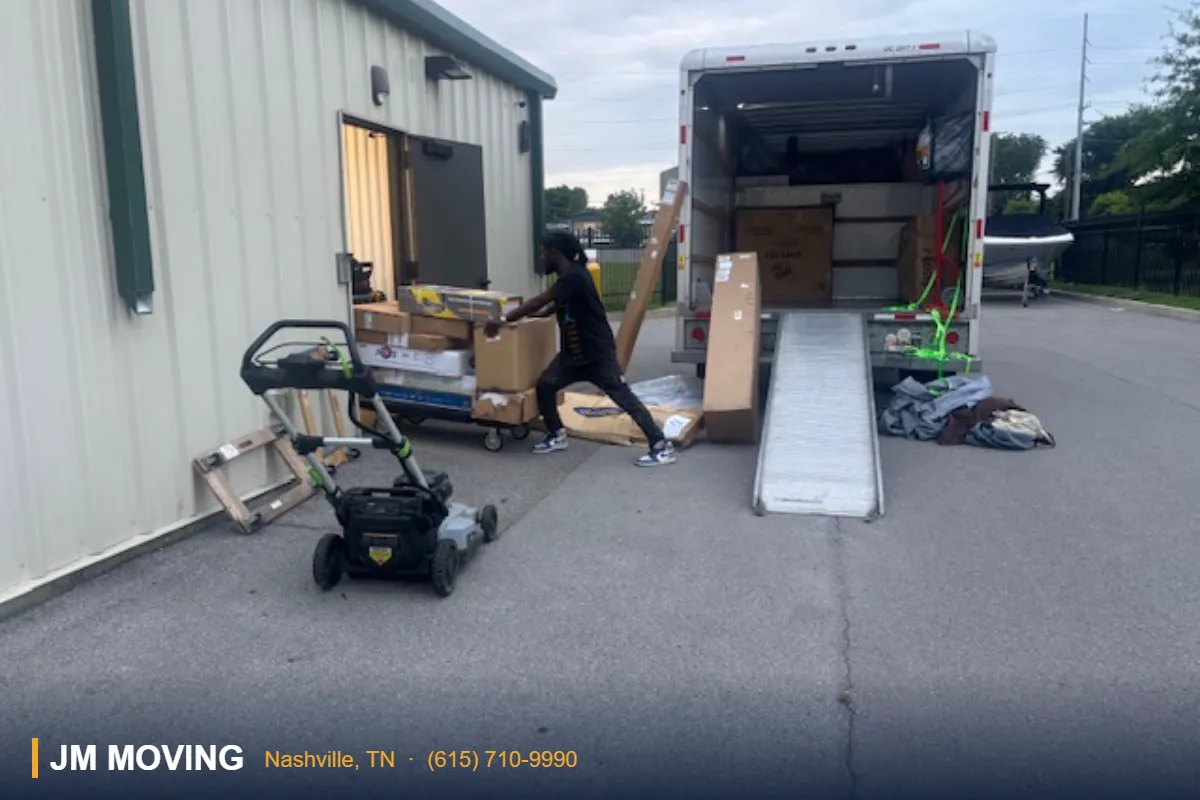
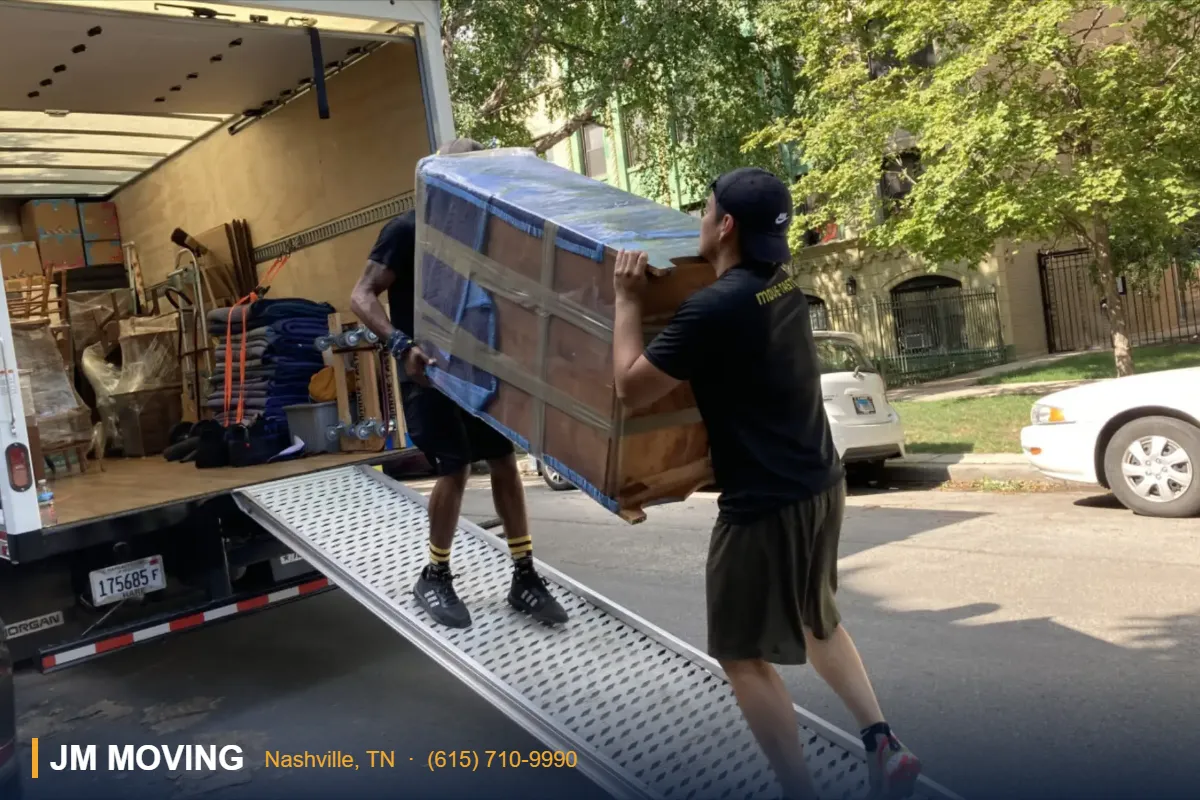
Once the kitchen is boxed, our local movers Nashville TN load dishes and appliances with care, and our apartment movers handle compact kitchens in condos and high-rises.
Related JM Moving guides: Kitchen Drawer Inventory for Nashville Moves